REVIEW · LAS VEGAS
Las Vegas: Stargazing In The Mountains & Shooting Stars
Book on GetYourGuide →Operated by Discover it Yourself · Bookable on GetYourGuide
Vegas goes quiet fast—then the sky takes over. I love the escape from city glare into the mountains and the way Lovell Canyon turns “random stars” into real depth. I also like the telescope setup plus a slow, easy plan that helps you spend the night looking, not figuring. One consideration: it gets cold out there, and the area is unmaintained wilderness with no facilities, so you need to plan for that.
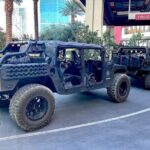
This is run by Discover it Yourself, and I like how the crew (including Jake/Jacob and support from David, based on past interactions) sets the tone before you go. You meet at the Discover IT Yourself home office (5030 Paradise Rd, Suite C-105), get a quick rundown of terrain and equipment, then head out in your Jeep/SUV for a self-guided stargazing session.
The overall value is strong for a group: $250 per group up to 5 for about 5 hours, and that price includes real stargazing comfort items like chairs, a blanket, lantern, water, snacks, and the telescope. Just note: there’s no hotel pickup, so you’ll need to get yourself to the meeting point.
In This Review
- Key things to know before you go
- Leaving the Strip: Spring Mountains drive that actually matters
- The meet-up at 5030 Paradise Rd Suite C-105 and the briefing with Jake/Jacob
- A short stop to reset before the mountains
- How the Lovell Canyon self-guided stretch works (and why it feels easier than you think)
- Stargazing with the telescope: getting more than point-and-guess
- Campfire comfort in the mountains: chairs, snacks, lantern, and warmth
- What to pack: the cold-climate reality check
- Weather can make or break your night—and the plan covers that
- Safety and wilderness reality: what you must respect
- Who this experience fits best (and who should skip it)
- Price and value: $250 per group up to 5, and what you actually get
- Making the night work: timing, directions, and your best viewing mood
- Should you book this Lovell Canyon stargazing night?
- FAQ
- How much does the stargazing experience cost?
- How long is the experience?
- Where do we meet?
- Is hotel pickup included?
- Is this experience guided or self-guided?
- What’s included in the price?
- What should I bring?
- What happens if the weather is bad?
Key things to know before you go
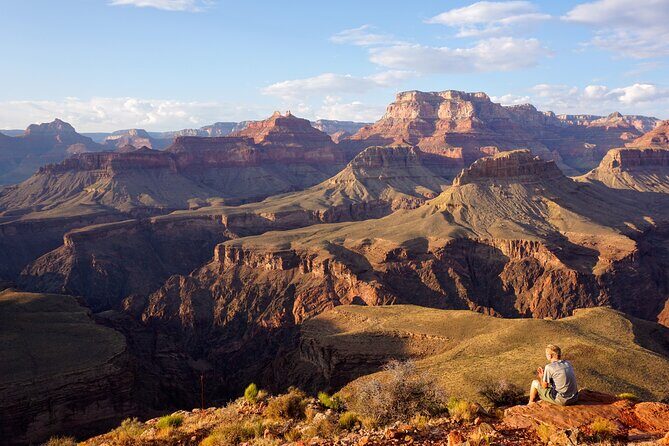
- Lovell Canyon dark skies: a short drive away from Vegas that actually changes what you can see
- A telescope included: better than relying only on your phone
- Campfire comfort (seasonal): firewood, chairs, blanket, and warm drinks/snacks when permitted
- Self-guided freedom with a pre-check: you get a briefing first, then you choose your spots
- Practical winter readiness: warm clothing isn’t optional if you want to enjoy the night
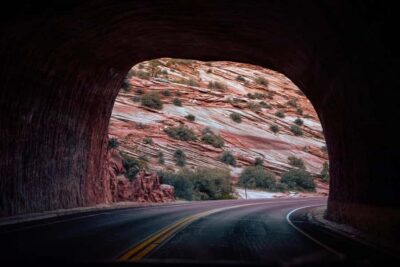
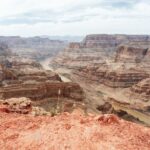
Leaving the Strip: Spring Mountains drive that actually matters
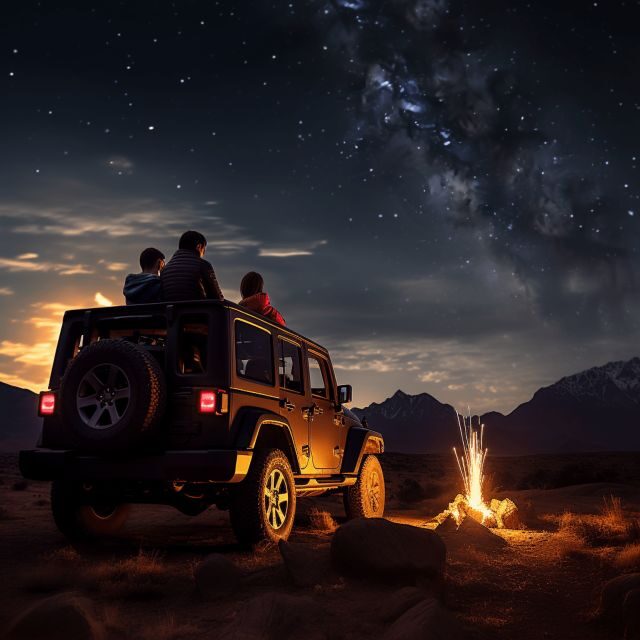
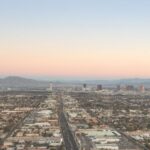
The best part of this outing is how quickly it changes your senses. You start near Las Vegas, then roll into the Spring Mountains area where streetlights fade and the sky stops looking washed out. Even before you reach the stargazing spot, the ride has that let’s-get-away-from-it-all feel that makes a short trip feel like a real break.
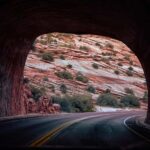
You’ll go out in a Jeep/SUV adventure vehicle for about an hour, then add a short scenic stretch. The goal is simple: get you far enough from the lights that your eyes can adjust and the night sky looks like it should. That lighting shift is what turns star-watching into something that feels almost physical.
If you’re coming on a night with an event on the calendar, this is also the part you’ll appreciate. Clear, dark locations are what meteor showers and meteor-watch nights depend on, and the drive is built to get you there without making it a full-day production.
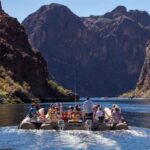
You can also read our reviews of more tours and experiences in Las Vegas.

The meet-up at 5030 Paradise Rd Suite C-105 and the briefing with Jake/Jacob
Your night begins at Discover IT Yourself home office, Suite C-105. This is where you meet an instructor before departure to review equipment, terrain, and how the experience works in practice. That briefing matters because it removes the two biggest stargazing annoyances: not knowing what to set up, and wasting time guessing where you should go once you’re in the dark.
You’ll also sign waivers prior to the start, which is standard for an off-the-beaten-path wilderness activity with vehicles and night conditions. On top of that, equipment is sanitized for safety, and you’ll be checking out telescope gear that’s meant to be handled with confidence rather than treated like a fragile science project.
A small but useful detail: this setup is self-guided after the briefing. You’re not stuck waiting for a tour leader to finish talking before you can look up. The tradeoff is that you need to pay attention during the pre-check, then follow the plan and directions provided so you end up in the right viewing zone for your goals.
A short stop to reset before the mountains
There’s a local bar stop along the route, about 30 minutes. I read this as more than a random detour: it’s time to refuel your group, use the restroom if you need it, and get any last-minute essentials without rushing.
If you’re the type who hates feeling unprepared, take this as your moment to do those tiny things that make the rest of the night smooth. Then you’re off again, pointed toward the quieter roads and the dark viewing areas.
Because this portion is time-boxed, I’d keep your shopping and ordering simple so you don’t end up running later than the schedule expects.
How the Lovell Canyon self-guided stretch works (and why it feels easier than you think)
Once you reach the Lovell Canyon area, the experience becomes a self-guided stargazing session for around 3 hours. This is the heart of the night: you’ll have time to pick your spot, set up, and settle in.
I like that the experience is designed for freedom without being chaotic. You get a map and multiple destination options, which gives you a backup plan if one spot is busy or if conditions aren’t perfect at your first pull-off. One past guest noted directions were easy to follow, and another said most of the route is paved, which is exactly the kind of detail that helps you feel confident in the dark.
A key thing to remember: the area is unmaintained wilderness with no access to facilities. That means you should use the restroom before you arrive and treat the rest of the night as a true outdoors session. If you respect that, the whole thing feels calm instead of stressful.
Also, driving at night has its own rhythm. Since you’re in a vehicle that can handle mountain roads, you can focus on the big picture: getting in position early enough so you’re not trying to set up the telescope while half your attention is stuck on headlights and road choices.
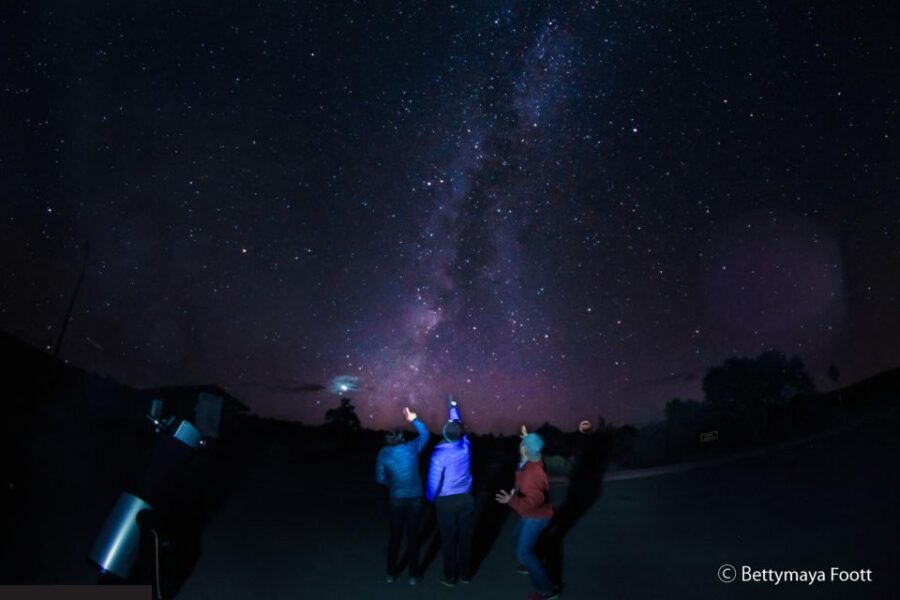
Stargazing with the telescope: getting more than point-and-guess
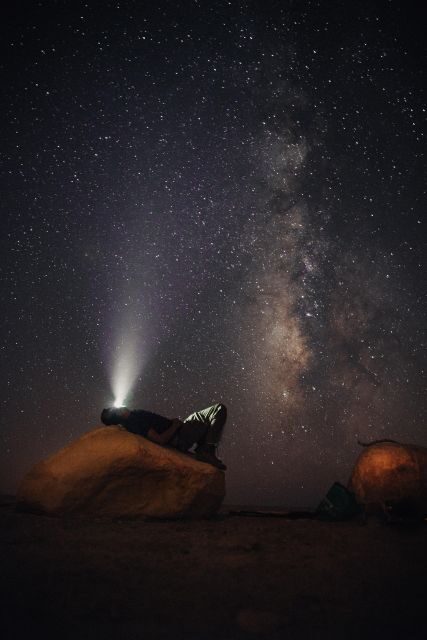
The telescope is the star of the show here, and I’m glad it’s included. When stargazing is only about your phone camera, you often miss what your eyes can catch in dark conditions. With a telescope, the night starts to look layered—more like a real view of space rather than dots in the distance.
You’ll also have an optional role for your smartphone. You can use it to capture the night sky, but I’d treat your phone like a tool, not a substitute. The telescope is where you get the big improvement.
What helps is that you’re not thrown into it cold. The instructor briefing covers the equipment and how you’ll use it so you spend your stargazing time actually looking. Past experiences also highlight that the guide is enthusiastic and gives enough knowledge to make you feel in control once you’re out there.
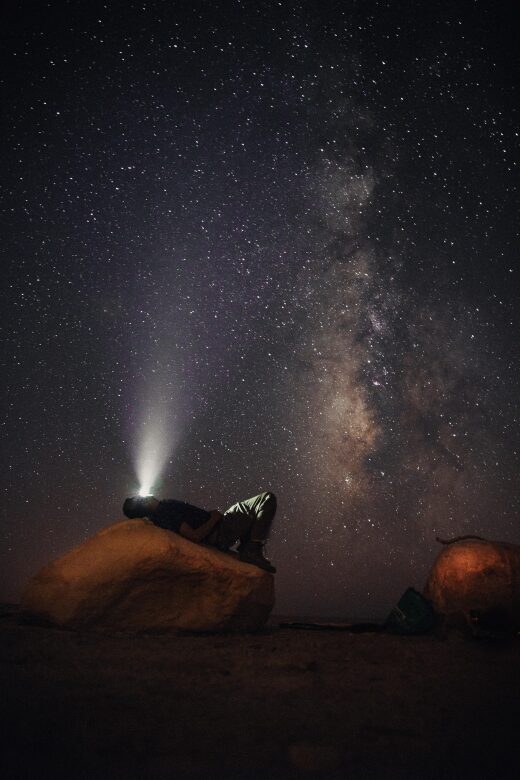
If you’re hoping to spot specific sky moments like the Milky Way or meteor activity, dark-sky location is your foundation. With that in place, a telescope plus patience gives you a bigger payoff than you’d expect from a short half-day trip.
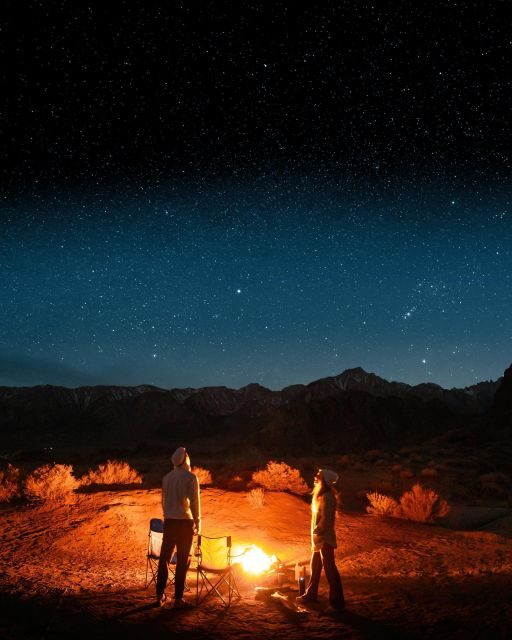
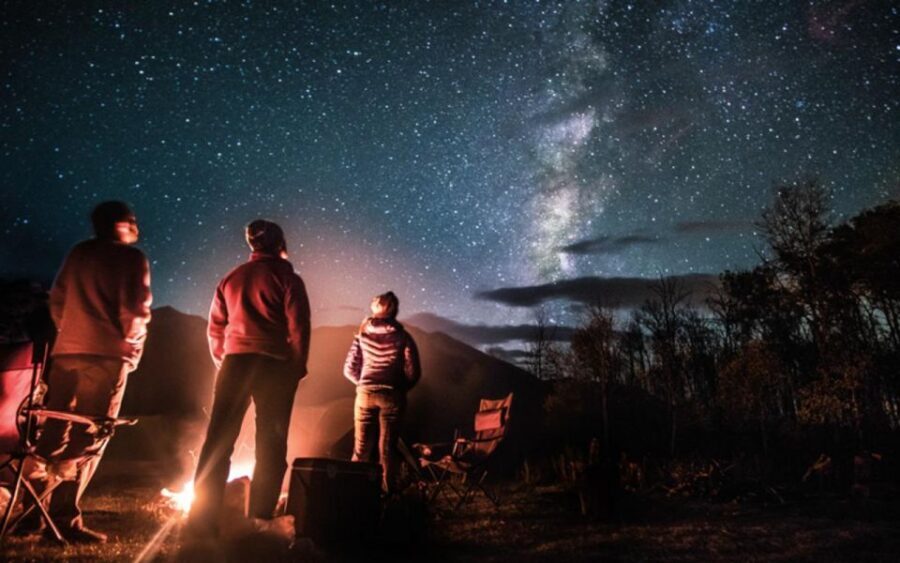
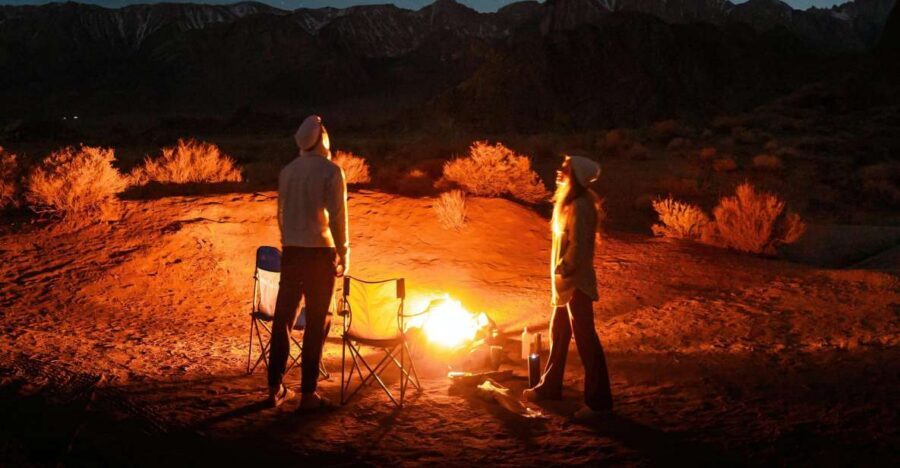
Campfire comfort in the mountains: chairs, snacks, lantern, and warmth
Stargazing gets easier when your body is comfortable. That’s where the camp setup pays off.
Included items include camp chairs (two), a lantern, a blanket, and a snack package with water. You’ll also have a firewood bundle, plus a cozy gathering area built around a warm-beverage and snack rhythm. Past guests have described a propane heater and a propane fire pit setup, which makes sense in a place where actual fires are seasonal.
The important caution: fires are seasonal and must follow local laws. When fires are permitted, guests are expected to follow proper dousing procedures to ensure containment. In other words, it’s not a casual bonfire. It’s controlled comfort.
I like the Bluetooth speaker being included too, but I’d use it lightly. This is one of those nights where quiet is part of the value, and gentle music can coexist with the moment instead of replacing it.
What to pack: the cold-climate reality check
Warm clothing is the big one, and closed-toe shoes also matter because you’ll be outdoors and moving around your viewing spot. Even if your daytime Vegas plans were sunny, the mountains can bring real temperature drop once the sun is gone.
If you hate feeling stiff and miserable, pack for comfort rather than style. You want to stay outside long enough to let your eyes adjust and to get multiple looks through the telescope.
Other useful items based on the plan: consider bringing your smartphone if you want photos, and make sure your phone battery is ready. A night under the stars is the one time you do not want your battery dying midway through the best sky.
Weather can make or break your night—and the plan covers that
This experience is subject to weather conditions. If conditions turn rough, you’ll work with the provider to reschedule or receive a full refund. That’s the right kind of safety net for an activity that depends on clear viewing.
So what do you do as a practical traveler? Pick your night with some flexibility if you can. Then dress for cold and be mentally ready to roll with a schedule change.
If the sky doesn’t cooperate as expected, don’t treat it as failure. In these mountain settings, weather is a factor you can’t control, and rescheduling is part of how you protect your viewing time.
Safety and wilderness reality: what you must respect
This is one of those experiences where the wilderness rules aren’t just paperwork. The area is unmaintained and has no facilities, and that changes how you plan the evening.
Here’s the practical checklist I’d follow:
- Use the restroom before you arrive
- Bring warm layers and keep traction in mind with closed-toe shoes
- Follow the instructor’s directions during the briefing so you don’t stall in the dark
There are also vehicle and gear responsibilities. Deposits are refundable if equipment is returned safely, and cleaning fees may apply if gear or the vehicle isn’t returned as issued. Fuel is another detail: you must fill up to the fuel level amount issued before returning, or additional fuel fees can apply.
Finally, the telescope and equipment are sanitized for your safety. That’s not just a nice touch; it’s a sign they expect you to handle shared gear in close quarters.
Who this experience fits best (and who should skip it)
This stargazing outing is suitable for all ages, from budding astronomers to seasoned stargazers. It’s a strong fit for families because the night has a mix of comfort (snacks, warm drinks, chairs) and wonder (galaxy views through a telescope).
It also works well for couples. The setup is intimate, and the quiet dark-sky setting beats a crowded big-city stargazing venue.
Solo travelers can enjoy it too, especially if you like self-guided freedom after a solid briefing. One theme across the experience is that you’re not stuck with a rigid script. You get to choose where you set up and how long you stay.
One clear limitation: it’s not suitable for people with mobility impairments. That’s important because the activity runs in unmaintained wilderness conditions and relies on getting around outdoors.
Price and value: $250 per group up to 5, and what you actually get
$250 per group up to 5 for a 5-hour experience is worth thinking through in the context of what’s included.
You’re paying for:
- Adventure transport via Jeep/SUV (and the time in the mountains)
- A telescope
- Comfort gear: camp chairs, lantern, blanket
- A snack package plus water
- A firewood bundle (when fires are permitted seasonally)
- Basic safety support like a first aid kit
And you’re not paying for:
- Hotel pickup and drop-off
So the value depends on your situation. If you’re traveling with a small group and you already planned to rent a car anyway, this can feel like a smart way to buy your stargazing setup in one package rather than piecing together telescope rental, roadside tours, and camping comfort items.
If you’re solo and don’t have easy car access to the meeting point, the lack of pickup can be a deal-breaker. In that case, factor in your transportation cost to get to Suite C-105, because that’s part of the real equation.
For most groups of two to five, the included telescope and comfort details are the main reasons the price makes sense.
Making the night work: timing, directions, and your best viewing mood
This experience is built around real night viewing, not a quick photo stop. Since you’ll have about 3 hours in the Lovell Canyon area, you can settle in and let your eyes adjust.
Use the briefing information to get your bearings fast—especially if you’re targeting something specific in the sky. One past guest specifically mentioned the guide pointing directions relevant to meteor shower viewing, plus providing a map with possible destinations. That kind of planning is how you turn a random night into a more purposeful one.
A simple mindset helps: start looking earlier than you think you need to. The first 20 to 30 minutes are often when you’re most likely to adjust quickly and then settle into longer stargazing sessions without rushing setup.
Also, keep your group energy low-key. Snacks, a warm beverage, chairs, and the occasional telescope check are what make the night enjoyable for hours.
Should you book this Lovell Canyon stargazing night?
Book it if you want a real dark-sky break from Las Vegas without making your trip complicated. I’d choose it if you’re traveling with friends or family and you want the value of a telescope plus comfort gear bundled into a short 5-hour outing. The pre-departure briefing with Jake/Jacob and the self-guided freedom after that are a great combination when you like to move at your own pace.
Skip it if you’re not comfortable with cold mountain evenings, unmaintained wilderness basics (no facilities), or if mobility access is a concern. Also, if you need hotel pickup and door-to-door transport, plan on meeting at Suite C-105 instead.
If you’re the type who loves nature quiet and wants your night to end with the Milky Way feeling real, this is the kind of experience that delivers more than you expect for the time you spend.
FAQ
How much does the stargazing experience cost?
It costs $250 per group, up to 5 people.
How long is the experience?
The duration is 5 hours.
Where do we meet?
You meet at Suite C-105 at 5030 Paradise Rd.
Is hotel pickup included?
No. Hotel pickup and drop-off are not included.
Is this experience guided or self-guided?
It is self-guided, but you meet an instructor prior to departure to review terrain, equipment, and answer questions.
What’s included in the price?
Included items are firewood bundle, camp chairs, Bluetooth speaker, snack package, lantern, first aid kit, water (6-pack), telescope, and a blanket.
What should I bring?
Bring closed-toe shoes and warm clothing. You can also bring your smartphone if you want to capture the night sky (optional).
What happens if the weather is bad?
The experience is subject to weather conditions. If weather is inclement, the provider will reschedule or provide a full refund.